

Struggling with stubborn labels clinging to your Glass Jars? Whether you’re upcycling containers for crafts, organizing your pantry, or prepping jars for homemade preserves, that leftover adhesive residue and paper scraps can be incredibly frustrating. Peeling by hand often leaves a sticky mess, and scrubbing feels like a never-ending battle. But don’t resign yourself to a life of labeled jars just yet! Removing labels completely and easily is absolutely possible with the right techniques. Let’s dive into the simple, effective methods that will leave your jars sparkling clean and ready for their next purpose.
Soaking in Hot Soapy Water
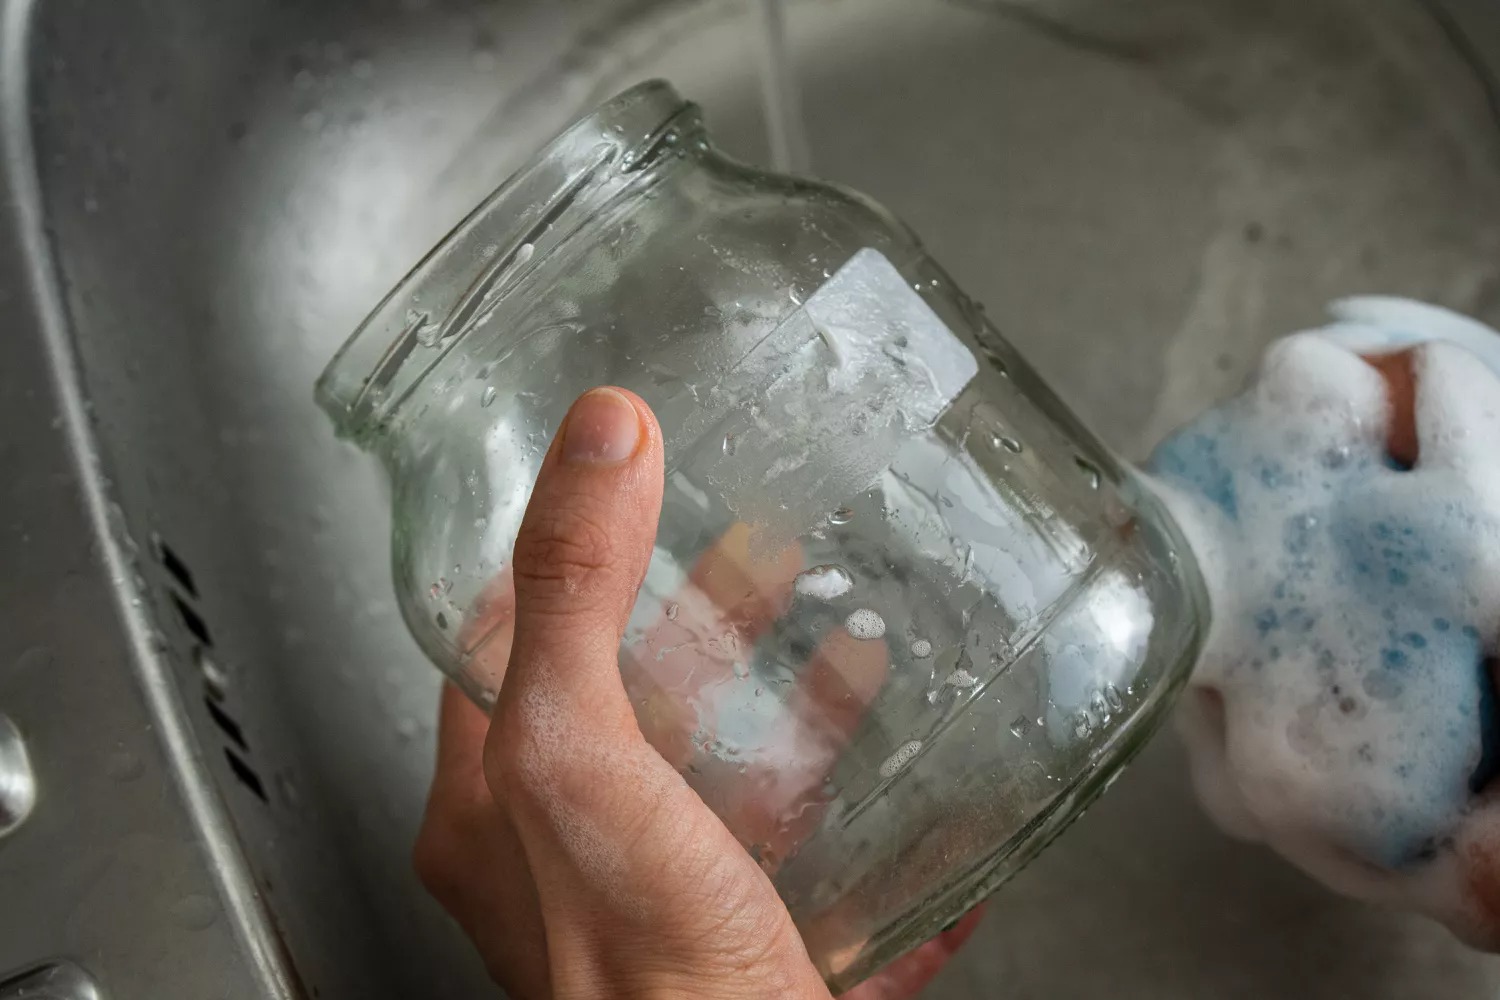
For many, soaking jars in hot soapy water is the go-to method for tackling stubborn labels. It’s reliable, inexpensive, and requires just a few household items. All you’ll need is dish soap, hot water (ideally between 120–140°F / 49–60°C), a sink or large bowl, and a sponge or soft scrubber. Adding 2–3 tablespoons of baking soda to the mix can give the solution extra adhesive-busting power, though it’s optional. A green scouring pad works well for tougher residue, but avoid steel wool—it can scratch the glass.

Step-by-Step Guide
Start by filling a sink or large container with hot water. For better results, stir in dish soap along with a few tablespoons of baking soda—this combination helps break down glue more effectively. Submerge the jars completely, ensuring labels are fully underwater. Let them soak for 10–45 minutes; many paper labels loosen in about 30 minutes, while some peel off easily after just 10. Test a corner of the label—if it lifts without resistance, the label is ready to peel. This simple soak works for 70–80% of common labels. After peeling, gently scrub off any leftover adhesive with a sponge or soft pad.
Handling Tough Labels & Pro Tips
Waterproof or plastic-coated labels might need extra attention. If a label resists, try soaking it again with an extra spoonful of baking soda. Another trick: pour boiling water directly into the jar and let it sit for 5–10 minutes—the heat from inside often loosens the adhesive, allowing the label to peel off in one piece. For the most stubborn glue, an overnight soak is highly effective and typically leaves no residue.
Oil and Baking Soda Paste: A Natural DIY Adhesive Remover
For those dealing with stubborn jar labels or sticky residue, an oil and baking soda paste offers a simple yet powerful solution. This method is especially popular for upcycling projects, zero-waste routines, or preparing jars for reuse. Using common kitchen ingredients, it effectively breaks down adhesives without harsh chemicals.
How to Make and Use the Paste
Creating this DIY paste requires just baking soda and cooking oil—olive, vegetable, or coconut oil all work well. Mix equal parts (about 1–2 tablespoons each per jar) until the consistency resembles runny melted ice cream. Before applying, peel off any loose label pieces to minimize residue. Spread a thick layer of paste directly onto the adhesive or remaining paper using a cloth or paper towel. Let it sit for 20–45 minutes for most labels, though tougher adhesives may need several hours or even an overnight soak. Once the paste has worked its magic, scrub the jar firmly with a scouring pad or steel wool (soft sponges often lack the needed abrasion). Finish by washing with dish soap and water—or a dishwasher cycle—to eliminate oily traces and any lingering bits.
Why It Works & Results
The oil dissolves adhesive bonds while baking soda gently abrades residue. In practice, this homemade paste often outperforms commercial removers and alternatives like rubbing alcohol or vinegar. A single application typically clears all glue and paper from most jars, though exceptionally strong adhesives might require a second round.
Tips and Recommendations
For thick or waterproof glues, leaving the paste overnight dramatically boosts effectiveness. Cleanup takes under a minute if the adhesive lifts cleanly. While some experiment with dish soap substitutions, oil-based pastes consistently deliver better adhesive breakdown. Though ready-made pastes exist, this DIY version is equally effective and far more affordable. Any common cooking oil suffices—no specialty products needed. For frequent label-removers, this paste stands out as an economical, reliable, and eco-friendly solution.
Removing Jar Labels With Rubbing Alcohol
For a quick and versatile label-removal solution, rubbing alcohol stands out as a reliable choice. It works effectively on glass, plastic, and metal containers, making it ideal for kitchen organization, crafting projects, or small-scale upcycling. Unlike some harsh chemicals, it’s gentle on most surfaces while tackling stubborn adhesives head-on.
Step-by-Step Guide
Start by peeling off any loose paper from the label—this helps the alcohol penetrate the adhesive layer underneath. Soak a cotton ball, cloth, or paper towel in 70% rubbing alcohol (isopropyl or denatured ethanol both work well), then press it firmly onto the residue. For larger or tougher labels, lay the alcohol-soaked material directly over the affected area. If the adhesive still resists, place the jar sideways in a shallow dish with a small pool of rubbing alcohol, cover it with plastic wrap to prevent evaporation, and let it soak for 10–20 minutes. Once the glue softens, gently scrape it off using a plastic tool like an old credit card. Repeat the process if any sticky patches remain—older or thicker glues often need 2–3 applications. Finish by washing the jar thoroughly with warm soapy water to remove residual stickiness and alcohol odor.
Tips for Best Results
A 10–20 minute soak typically loosens the toughest adhesives, while simpler labels may yield in 5–10 minutes. Always work in a well-ventilated area away from open flames due to alcohol’s flammability. For painted or decorated jars, test the alcohol on a hidden spot first to prevent surface damage. If traces of glue persist after scraping, try warming the residue with a hairdryer or lightly scrubbing with a damp scouring sponge.
Why This Method Works
Rubbing alcohol penetrates label paper and breaks down adhesive bonds efficiently, minimizing elbow grease. It’s particularly valued by crafters, home cooks, and small businesses for its speed and scalability—whether cleaning one jar or a hundred. Compared to solvents like nail polish remover, it’s less likely to damage surfaces while delivering consistent results. For delicate containers, the preliminary spot-test remains a non-negotiable safety step.
Using a Hairdryer or Heat Gun to Remove Jar Labels
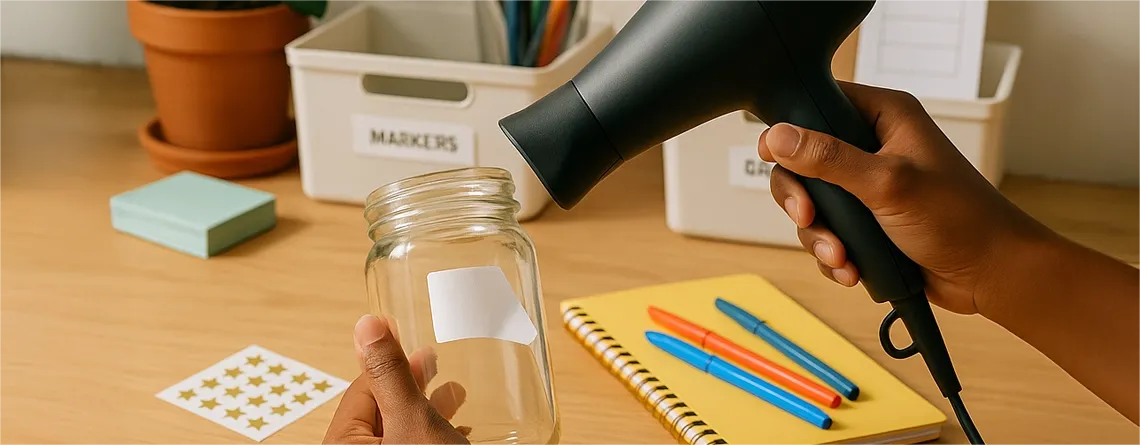
For a fast, mess-free approach to stubborn labels, heat proves remarkably effective. A hairdryer or heat gun softens adhesive bonds quickly, allowing labels to peel off cleanly from glass, plastic, or metal jars. This method is especially popular for home crafters and small businesses handling bulk jar prep—no sticky residue, minimal cleanup, and immediate reuse.

How It Works: Step-by-Step
Begin by aiming hot air from a hairdryer or heat gun a few inches from the jar’s surface, moving it steadily in circular motions to warm the label evenly. Most labels loosen after 30–60 seconds of heating, though thicker or waterproof types might need a second pass. Test a corner—if the glue feels soft, gently peel the label backward. It often lifts away in one satisfying piece. For any lingering adhesive, reheat the spot for 20–30 seconds and wipe it with a dry cloth while warm. Stubborn bits respond well to a quick rub with rubbing alcohol on a cloth. Always wipe the jar immediately after peeling to prevent melted glue from resetting.
Efficiency and Practical Tips
This method shines for speed: most labels surrender in under a minute. Crafters and small-scale operations favor it for batch processing—it’s tidy and leaves jars ready for reuse. For safety, keep the heat source several inches from the jar to avoid burns or glass cracking. Delicate vintage glass benefits from a hairdryer’s lower heat setting, while plastic jars require careful low-heat handling to prevent warping. Note that heat works best on intact, dry labels; pre-damaged glue may need alternative methods like soaking.
Why Choose This Method?
Heat offers the cleanest peel with near-zero residue, making it ideal for upcycling projects. Hairdryers suit everyday use, while heat guns tackle industrial-strength adhesives. Though simple, success hinges on even heating and prompt wiping. For frequent users, investing in removable labels streamlines future prep. Overall, it’s a swift, low-effort solution that balances efficiency with professional results.
How to Remove Stubborn Sticky Residue from Jars
Dealing with lingering adhesive after peeling off labels can be frustrating, but simple household solutions tackle even the toughest residue. These methods skip harsh chemicals, using affordable items you likely already have at home.
Baking Soda and Oil Paste: A Natural Adhesive Remover
For reliable residue removal, a paste of equal parts baking soda and cooking oil (like olive or coconut) works wonders. Mix roughly 1–2 tablespoons of each per jar until smooth—think melted ice cream consistency. Apply a thick layer directly onto the sticky area and let it sit for 20–45 minutes; stubborn glue might need up to 3 hours or overnight. Gently scrub with a non-abrasive pad—copper, coconut, or walnut scrubbers are ideal for avoiding scratches. Steel wool should be reserved only for glass jars as a last resort. Finish by washing the jar thoroughly with hot soapy water. For extra scrubbing power on tough spots, mix coarse salt into the paste. If the residue feels greasy after treatment, a drop of dish soap helps cut through the oil.
Rubbing Alcohol: Fast and Effective
When paste isn’t enough, rubbing alcohol (isopropyl or denatured) offers a quick fix. Soak a cotton ball or paper towel and rub it firmly over the residue until it dissolves. For persistent patches, press the alcohol-soaked material against the spot for a few minutes before scrubbing.
Choosing the Right Scrubbing Tools
Gentle-but-effective scrubbers make all the difference. Copper pads, coconut shell scrubbers, and walnut sponges lift residue without scratching surfaces. Steel wool can be used cautiously on glass-only jars when other methods fail.
An Eco-Friendly, Budget-Conscious Approach
These solutions prioritize safety and sustainability—baking soda, oil, and alcohol are non-toxic, affordable, and already in most kitchens. They eliminate the need for commercial removers while minimizing waste. For jars with waterproof labels or thick glue, this approach consistently outperforms store-bought products and alternatives like vinegar. Most residue clears in one treatment, though extreme cases may need repetition. Always conclude with a hot soapy rinse before reusing the jar.
Wrap-Up: Clean Jars, Sustainable Choices
Whether you choose hot soapy water, baking soda paste, rubbing alcohol, or heat, removing labels from jars is a simple yet rewarding step toward sustainability. Each method empowers you to transform everyday containers into reusable treasures—reducing waste and sparking creativity. At TP Glass Bottle Manufacturer, we take this ethos further. We design new glass bottles with easy-remove labels and adhesive-free finishes, so you skip the scrubbing altogether. Customizable, eco-conscious, and crafted for seamless reuse, our bottles are the ultimate upgrade for brands and crafters who value both beauty and practicality. Ready to simplify your packaging? Visit our site to explore bottles built for effortless elegance.