

In an era where sustainability and eco-friendly practices are increasingly valued, many households are turning to reusable glass milk bottles as a responsible alternative to single-use containers. However, simply rinsing them with water isn’t enough to ensure they’re truly clean and safe for repeated use. Proper sterilization is essential to eliminate harmful bacteria, residual odors, and old milk residues that can linger in these bottles. This guide will walk you through simple yet effective methods to sterilize glass milk bottles thoroughly and keep them in pristine condition.
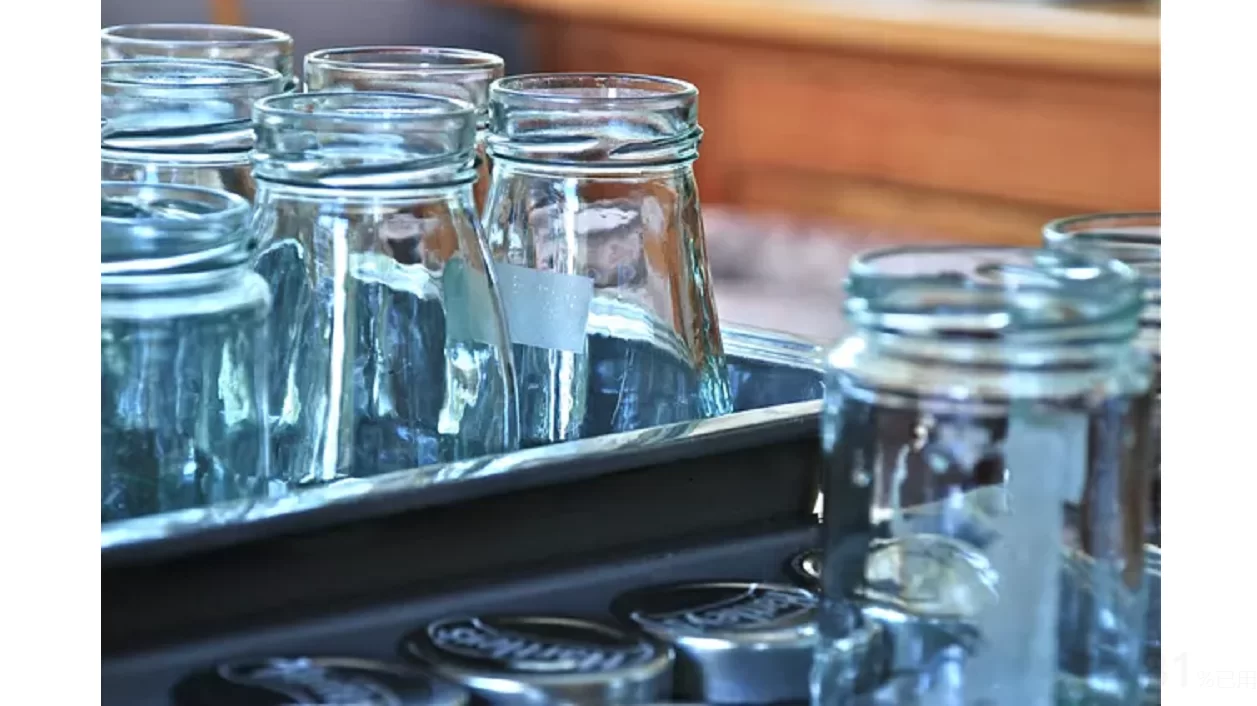
Table of Contents
Why Sterilizing Glass Milk Bottles is Essential
Sterilizing glass milk bottles is a fundamental practice for infant safety and overall food hygiene. A newborn’s immune system is still developing, which makes them more vulnerable to harmful microorganisms such as bacteria, viruses, and fungi. These pathogens can multiply rapidly in bottles that aren’t properly cleaned—especially when traces of milk remain. This is why thorough sterilization is more than just a recommendation; it’s a necessary step to protect your baby’s health.
Babies under six months old are particularly at risk. If bottles are not cleaned and sterilized correctly, bacteria from leftover milk can double in number every 20–30 minutes at room temperature. This can lead to gastrointestinal issues like vomiting and diarrhea, or in more serious cases, infections such as sepsis or meningitis.
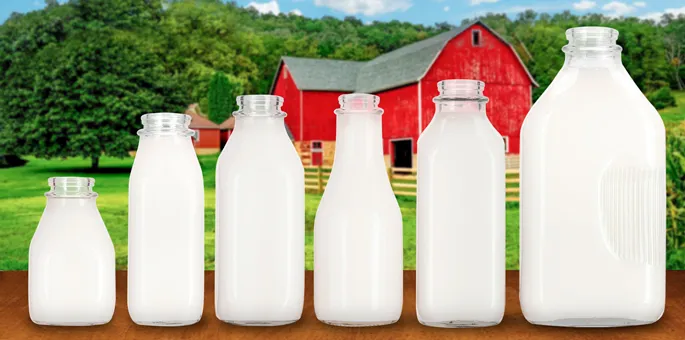
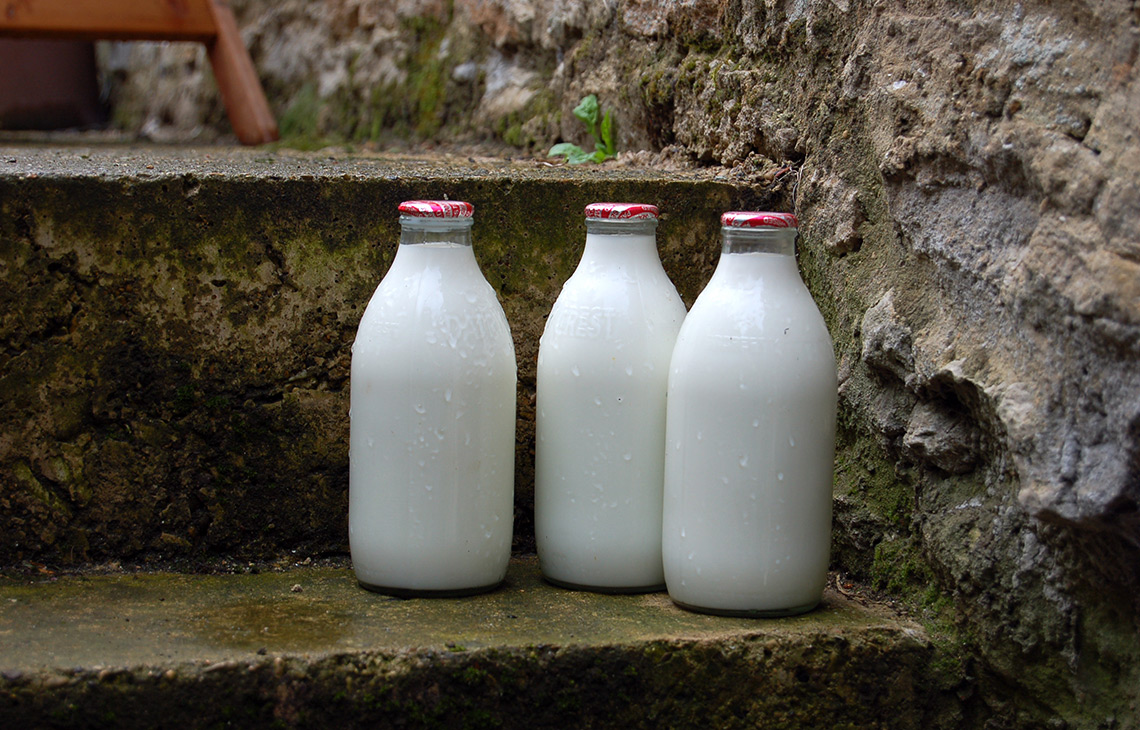
Another advantage of using glass bottles is the avoidance of chemical exposure. Unlike some plastic containers, glass does not release BPA or microplastics when heated. This makes glass a safer and more environmentally friendly option for feeding infants.
Sterilization doesn’t just remove germs—it also helps preserve the quality of the milk. By eliminating bacteria and other contaminants, milk stays fresh longer and maintains its natural taste and nutritional value. This is especially important for both daily use and commercial milk distribution.
Major health organizations, including the World Health Organization, recommend sterilizing all feeding equipment, especially for babies under three months, preterm infants, or those with compromised immune systems. Following these guidelines helps minimize the risk of infection and supports safe feeding practices.
In short, sterilizing glass milk bottles is a simple yet vital routine. It offers peace of mind, protects against serious health risks, and ensures that milk is safe for consumption—whether for your baby or the whole family.
Sterilization Method 1: The Boiling Water Method for Glass Milk Bottles
Boiling is a classic and reliable way to sterilize glass milk bottles at home. It’s effective at killing germs and helps keep feeding times safe for your baby.
Before you begin, you’ll need a large pot, clean water (filtered, if possible), and a pair of tongs or a jar lifter. It’s important to first inspect each bottle and lid for any cracks or chips—discard any damaged pieces to avoid risks. Then, give everything a good wash with warm soapy water, and rinse thoroughly to remove all soap residue.
To start sterilizing, place the bottles and lids gently into the pot. Try to position them so they aren’t touching each other; this helps prevent the glass from knocking together and breaking. Fill the pot with cool or room-temperature water, making sure everything is fully submerged. It’s best to cover the tallest bottle by at least 2–3 inches of water for complete sterilization.
Put the pot on the stove and bring the water to a rolling boil over medium-high heat. Starting with cool water reduces the risk of the glass cracking from sudden temperature changes. Once the water reaches a full boil, let it continue boiling for 5 to 10 minutes. For brand-new bottles, 10 minutes is recommended. For everyday use, 5 minutes is usually enough.
Using clean tongs, carefully remove the bottles and lids from the hot water and place them on a clean towel or drying rack. Allow everything to air-dry completely without touching the inner surfaces. If you’re planning to use the bottles while they’re still warm—for example, when filling with warm milk—this can help prevent new bacteria from forming.
A few helpful tips: Metal lids with plastisol liners can usually be boiled, but it’s always a good idea to check the manufacturer’s instructions first. Also, boiling is only recommended for glass—not plastic parts, as high heat can cause damage over time. This method is both time-tested and environmentally friendly, supporting the reuse of glass bottles and reducing plastic waste.
For those living at high altitudes, remember that water boils at a lower temperature. A good rule of thumb is to add one extra minute of boiling time for every 300 meters (or 1,000 feet) above sea level.
Boiling offers a simple and effective way to sterilize glass milk bottles. It’s a trusted method that brings peace of mind, supporting both safety and sustainability.
Sterilization Method 2: Using a Steam Sterilizer (Electric & Microwave) for Glass Milk Bottles
Steam sterilization offers a modern and efficient way to thoroughly sanitize glass milk bottles. By using high-temperature steam—around 100°C (212°F)—this method effectively eliminates bacteria and viruses. There are two common types of steam sterilizers: electric and microwave versions. Both provide a reliable option for keeping bottles clean and safe.
Electric steam sterilizers use heated steam to remove over 99.9% of common germs. They’re designed to hold multiple bottles—often up to six at once—making them ideal for parents who need to sterilize several bottles in one go. Many models come with extra trays or baskets for smaller items like nipples and pacifiers. The process typically takes between 5 to 15 minutes and often includes an automatic shut-off feature for added convenience. Some electric sterilizers also offer a drying function, which works well for heat-resistant glass bottles, though it’s best to avoid using high heat drying for silicone parts.
Microwave steam sterilizers provide a quicker and more compact alternative. You simply add a small amount of water—usually between 50 to 200 ml—and run the microwave for 2 to 7 minutes, depending on its power level. Most units can accommodate 2 to 4 bottles per cycle. It’s important to leave bottle caps off during sterilization to prevent pressure buildup and avoid damaging the glass. While microwave-safe plastic accessories can usually be sterilized this way, glass remains the ideal material due to its durability and non-porous surface.
For both methods, it’s helpful to make sure bottles are placed upright and not overcrowded, allowing steam to circulate freely. After sterilization, let the unit and bottles cool before handling to avoid steam burns. Over time, mineral deposits from water may build up in the sterilizer, so occasional wiping or descaling is recommended.
Steam sterilization is valued for its combination of speed, safety, and ease of use. It’s especially well-suited for glass bottles, which can withstand high temperatures without warping or deteriorating. This method supports daily use and helps extend the life of feeding supplies, offering parents a practical and confidence-boosting cleaning solution.
Sterilization Method 3: Using a UV Sterilizer for Glass Milk Bottles
UV sterilizers use UVC light—with wavelengths between 200–280 nm—to effectively eliminate up to 99.9% of germs, including bacteria, viruses, and mold on glass milk bottles. This technology works by damaging the DNA and RNA of microorganisms, preventing them from reproducing and causing infections.
One of the main advantages of UV sterilization is its speed. A typical cycle takes just 3 to 10 minutes, making it one of the fastest cleaning methods available. Unlike boiling or steam approaches, it requires no water, heat, or chemicals. Bottles come out dry and ready to use right after treatment. UV sterilizers are also versatile—they can sanitize a variety of items such as pacifiers, pump parts, teethers, and even small personal devices like smartphones.
It’s important to note that UV light only sanitizes surfaces it directly touches. To ensure thorough sterilization, bottles should be placed with their mouths open and arranged so that light reaches all interior and exterior surfaces. Overloading the unit should be avoided. Most home sterilizers hold between 2 to 6 bottles per cycle.
UV light is completely safe for glass and doesn’t cause wear or damage. However, some plastics and rubber materials may degrade over time with repeated exposure. It’s a good idea to check manufacturer guidelines before sterilizing non-glass parts.
Although UV sterilizers tend to have a higher upfront cost than boiling pots or steam units, they offer a convenient, chemical-free option that’s both efficient and multi-functional. This method is widely trusted—hospitals have used UV technology for decades to disinfect tools and surfaces.
For best results, always wash and rinse bottles before UV sterilizing, place items thoughtfully to avoid shadows, and follow the device’s instructions regarding cycle length and capacity. When used correctly, UV sterilization provides a modern, effective way to keep glass milk bottles safe and hygienic.
Sterilization Method 4: Using a Dishwasher’s Sanitize Cycle for Glass Milk Bottles
For those with a dishwasher featuring a sanitize cycle, this can be a convenient and effective method to sterilize glass milk bottles. The process relies on high-temperature water—typically between 150–180°F (65–82°C)—to eliminate up to 99.999% of bacteria and common pathogens, offering a thorough clean that meets strict hygiene standards.
To begin, fully disassemble each bottle, including nipples, rings, caps, and valves. It’s helpful to rinse all parts promptly after use to prevent milk residue from drying. When loading the dishwasher, place glass bottles on the top rack to avoid direct exposure to the intense heat from the lower heating element. Smaller items such as nipples and caps can be placed in a mesh bag or dedicated dishwasher-safe basket to keep them secure and prevent damage.
Select the sanitize cycle option, which uses extra-hot water and often includes a heated drying phase. A full cycle usually takes between 1.5 to 2.5 hours, depending on the dishwasher model. After the cycle completes, allow the bottles and parts to air-dry thoroughly inside the dishwasher with the door slightly open. Avoid handling or covering them while still damp to prevent bacterial recontamination.
This method is both efficient and widely recommended. Organizations such as the CDC recognize dishwasher sanitizing as equally effective as boiling, and many major bottle brands approve it for their glass products. It’s important, however, to verify that all non-glass components are labeled dishwasher-safe and tolerant of high heat.
Using the dishwasher’s sanitize cycle can save considerable time and effort, particularly for families who need to sterilize multiple bottles daily. With no need for pre-boiling or chemical sanitizers, it provides a hands-off, reliable way to keep glass milk bottles clean and safe for everyday use.
How to Dry and Store Sterilized Glass Milk Bottles
Proper drying and storage are essential to maintain the cleanliness of sterilized glass milk bottles. After sterilization, bottles should be placed on a clean drying rack or mat in a well-ventilated area to air-dry completely. Air drying typically takes 30 to 60 minutes, though humidity levels may affect drying time. Using a cloth or paper towel to dry bottles is not recommended, as these can transfer fibers or microbes.
If using a steam sterilizer with a drying function, allow the cycle to finish, and check that no moisture remains inside the bottles. After boiling, carefully remove the bottles with clean tongs and place them upside down on a fresh, clean towel to aid drying. It’s important to keep all components—such as nipples, rings, and caps—separated during drying to ensure air reaches every surface.
Once fully dry, the bottles should be stored in a closed container or a clean zip-top bag to protect them from dust and airborne contaminants. Some parents prefer to keep sterilized bottles in a dedicated lidded container used only for baby feeding items. If the bottles won’t be used immediately, storing them in the refrigerator inside a sealed container can offer extra protection for up to 24 hours.
Always handle dry, sterilized bottles with clean hands or sterile gloves, especially when reassembling them. Avoid touching the inner surfaces or the inside of nipples to prevent recontamination. It’s important not to store any bottle that remains even slightly damp, as moisture can encourage bacterial growth. Likewise, bottles should be covered or put away soon after drying to maintain sterility.
By following these practical steps, parents can ensure that glass milk bottles remain clean, safe, and ready for use from sterilization until the next feeding.
Essential Safety Steps for Sterilizing Glass Milk Bottles
Proper sterilization of glass milk bottles is crucial for ensuring a baby’s health and safety. Before starting, each bottle should be carefully inspected for cracks, chips, or other damage, as imperfections can weaken the glass and increase the risk of breakage during heating. It’s also important to use clean, drinkable water throughout the sterilization process to avoid introducing new contaminants.
During sterilization, bottle caps and covers should always be removed to prevent pressure buildup, which could potentially cause the glass to crack or shatter. Each component—including lids, caps, and nipples—must be fully exposed to the sterilizing agent, whether it’s boiling water, steam, or UV light. When boiling, glass bottles should be submerged for at least five minutes, though extending this to 10–30 minutes may offer added safety for frequently used items. Always use clean tongs or a sterilized tool to handle hot bottles, reducing the risk of burns and maintaining hygiene.
After sterilization, allow the bottles to air-dry completely on a clean towel or drying rack before reassembling or storing. Sealing caps onto damp bottles can trap moisture and encourage bacterial or mold growth. Over time, bottle accessories such as nipples and silicone parts should be regularly checked for signs of wear and replaced as needed, since repeated heating may degrade these materials.
For families with newborns under three months, premature infants, or babies with compromised immune systems, extra care and more frequent sterilization are recommended. As the baby grows older and stronger, sterilization frequency can be gradually reduced.
Boiling bottles for five minutes or more eliminates up to 99.9% of common bacteria and fungi, while regular bottle inspections can help prevent up to 60% of breakage incidents. Methods such as steam sterilization at temperatures exceeding 100°C are widely used in both medical and food industry settings, offering a reliable way to keep glass feeding bottles safe and clean.

Conclusion
Ensuring your glass milk bottles are properly sterilized is a simple yet essential practice for keeping your baby safe and healthy. Whether you choose boiling, steam, UV, or dishwasher sanitizing, each method offers an effective way to eliminate harmful germs and maintain bottle hygiene. Remember, using high-quality bottles can make sterilization easier and more reliable. At TP Glass Bottle Manufacturer, we craft durable, heat-resistant glass bottles designed to withstand repeated sterilization. Trust in quality; choose TP for bottles that are safe, sustainable, and built to last.